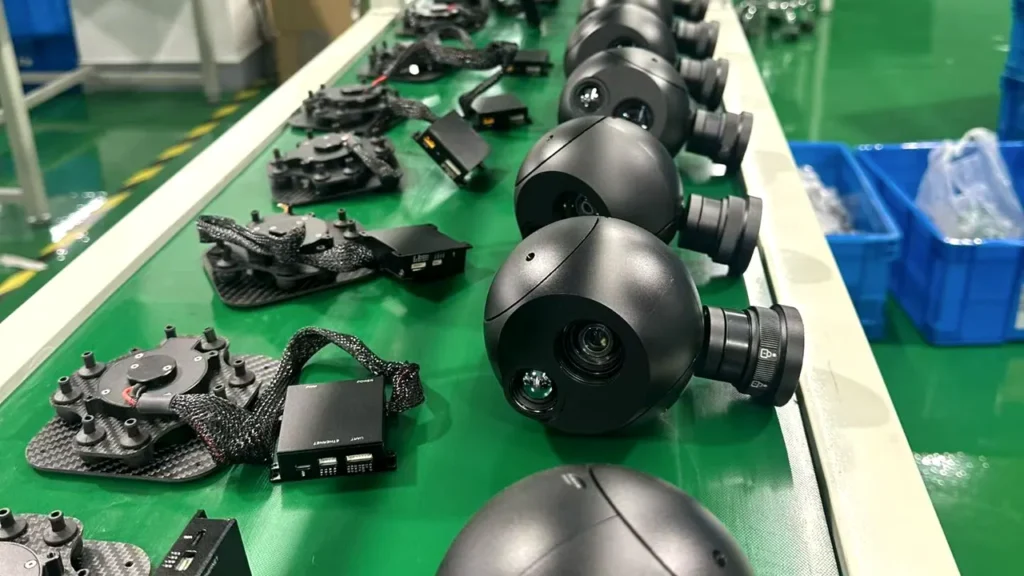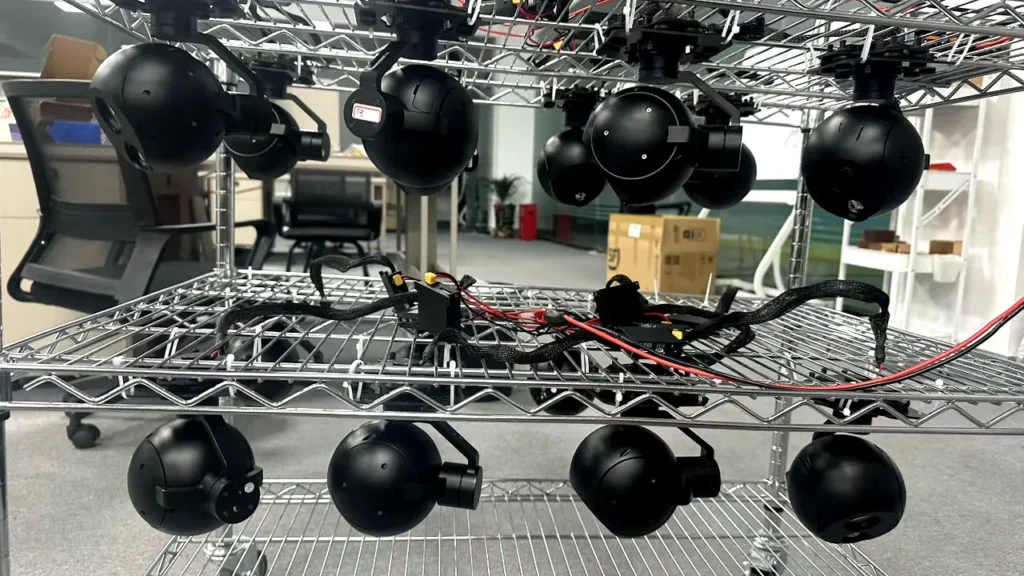
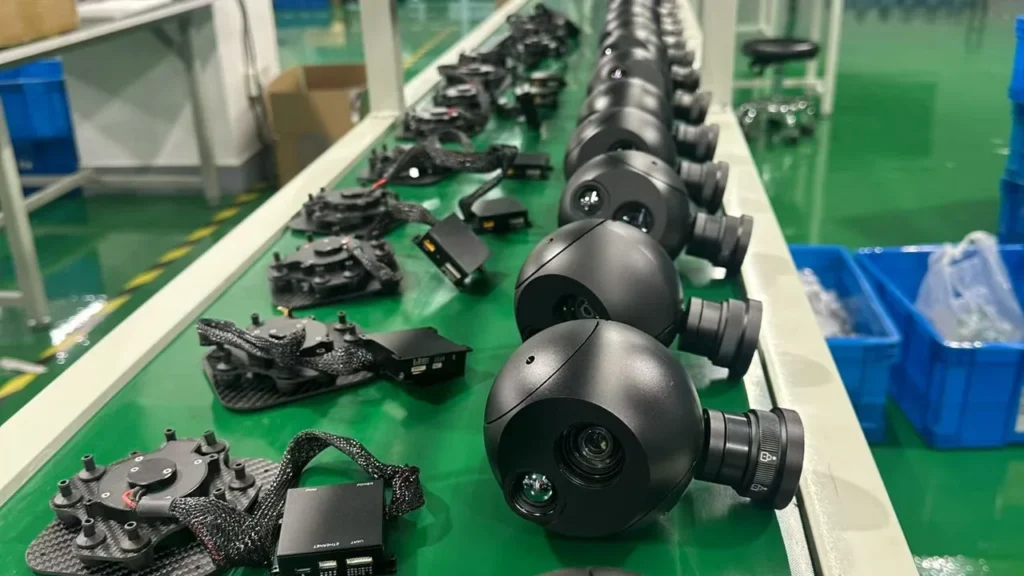
Buying an industrial UAV gimbal camera isn’t about picking the biggest sensor on the page and comparing prices. A head that reads well in a catalogue can still fight you during installation, refuse to talk to your flight controller, or fail its first flight test.
That’s the gap this checklist is meant to close. It sets out the ten steps we see international buyers work through when a payload purchase goes smoothly, from defining the mission to agreeing how the first units will be accepted. UAV manufacturers, system integrators and distributors can work through it in order, or jump to the step that’s causing the trouble.
The ten steps at a glance
- Define your UAV application and mission
- Specify the camera configuration
- Confirm platform compatibility
- Set stabilisation and environmental requirements
- Request the technical documentation
- Evaluate samples and product quality
- Compare commercial terms
- Prepare your RFQ
- Compare suppliers with a scoring matrix
- Run the final checks before the order
Why a procurement checklist matters for UAV gimbal cameras
Where industrial camera purchases go wrong
An imaging payload packs sensors, stabilisation mechanics, electronics and firmware into a single housing. Two products described in identical words can differ in weight, interfaces, image quality and operating limits. When the description is thin, suppliers guess at what you need, quotations stop being comparable, and somebody ends up trying to integrate hardware that was never going to fit.
Technical requirements and commercial requirements
Keep those two lists apart. Technical requirements describe what the camera has to do: imaging performance, stabilisation, weight, power, interfaces and environmental limits. Commercial requirements describe how you buy and support it: price, minimum order quantity, lead time, shipping terms, warranty and spare parts. Both get evaluated before a supplier is chosen.
How a clear RFQ reduces purchasing risk
An RFQ, or request for quotation, gives every supplier the same description of the project. Same questions in, comparable answers out. The version that actually works separates the requirements you can’t move on from the features you’d merely like to have, and it says plainly which points still need engineering confirmation.
Step 1: define your UAV application and mission
Primary UAV application
Start with the work the aircraft is really doing. A payload for power line inspection gets judged differently from one for environmental survey or facility monitoring, and the mission decides which questions matter. Settle the primary task before you look at a single model number.
Imaging and inspection objectives
Write down the smallest feature you have to see and the distance you’ll be looking from. Documenting a whole transmission tower needs a different level of detail from examining one connector on it. That target and distance pair drives sensor choice more than anything else in the brief.
Required operating conditions
Daylight or night operation, ambient temperature, humidity, aircraft vibration and the working standoff distance all belong in the brief. Environmental ratings should come from model-specific documentation, not from a general page on a supplier’s website.
Project schedule and deployment requirements
State the date you want an evaluation sample, the production quantity you’re planning and the delivery window you need. Custom configurations usually need extra development and validation time, so flag an early date from the start.
Step 2: specify the camera configuration
EO camera requirements
Electro-optical cameras capture visible light. Specify the viewing capability you need rather than the largest magnification on offer.
Optical zoom
Ask for the zoom range that suits the job. A 30x head and a 55x head aren’t better or worse in isolation, they’re suited to different standoff distances and different target sizes. If your operator has to identify a component from far away, request sample imagery at the working range instead of a zoom figure on its own.
Resolution and frame rate
Resolution drives recorded detail. Frame rate drives smoothness and how well the video holds up in any downstream analysis. Both should follow from the application rather than from a preference for bigger numbers.
Focal length and field of view
Focal length and sensor dimensions together decide the viewing angle. A narrow field of view puts more detail on a distant target, but it also puts more demand on stabilisation, because every bit of aircraft movement is magnified along with the image. Our guide to zoom, field of view and laser rangefinding on long-range payloads works through those trade-offs in more detail.
Thermal camera requirements
Thermal cameras read received infrared radiation and display apparent temperature differences.
Thermal resolution
Industrial UAV configurations commonly use 640 x 512 or 1280 x 1024 detectors. A higher detector count gives you more native pixels, but it doesn’t automatically buy better measurement or detection, because the lens, the pixel pitch and the conditions all take a turn. We compared the two detector sizes side by side in 640 x 512 vs 1280 x 1024 thermal gimbal cameras.
NETD and pixel pitch
NETD describes thermal sensitivity under stated conditions. Pixel pitch, lens focal length and detector resolution decide how finely the scene is sampled. Read those numbers as a set rather than one at a time.
Lens and measurement functions
Decide the thermal field of view you need, and be explicit about whether you need calibrated temperature measurement. Emissivity, measurement conditions and target size all affect the accuracy of a temperature reading, as Teledyne FLIR explains in its note on infrared camera accuracy [1]. A thermal imaging channel isn’t the same thing as a radiometric measurement function, and on the HITS range the radiometric option is model-specific, so confirm it for the exact model you’re quoting.
Optional AI, laser rangefinding and other functions
AI detection, tracking and laser rangefinding earn their place on some missions and add weight and cost on others. Give each optional feature a job to do before you ask for it. Suppliers should back optional functions with model-specific documentation and test evidence, and on the HITS range AI and LRF are available on selected models. If you’re evaluating AI specifically, our buyer’s guide to AI tracking payloads covers how to test what a supplier claims.
Single-sensor or multi-sensor
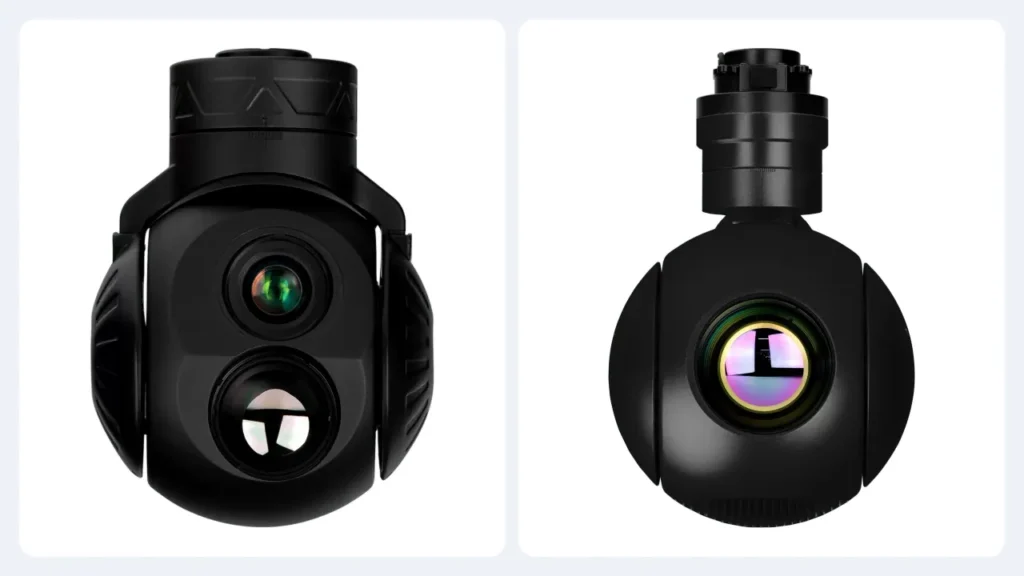
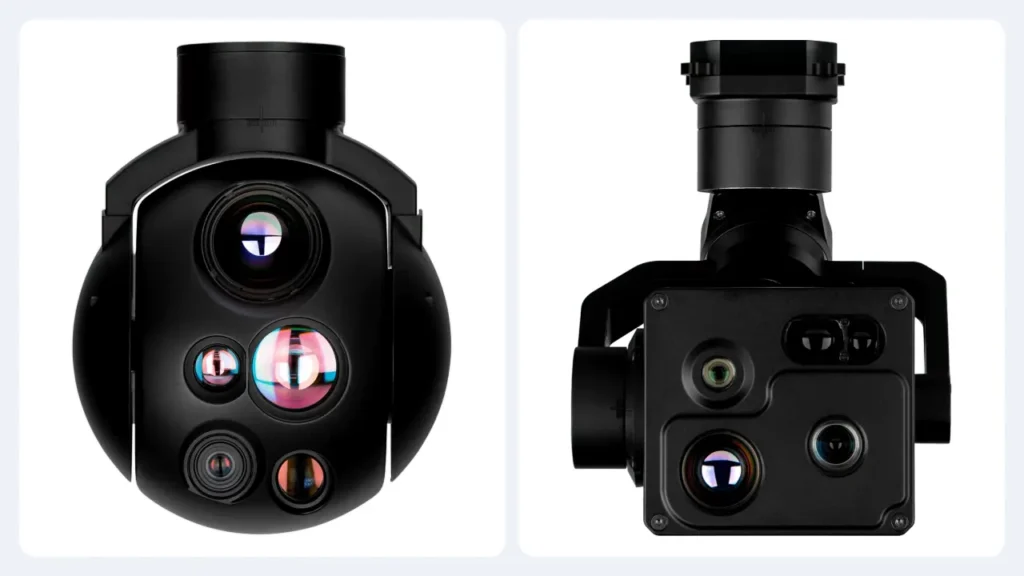
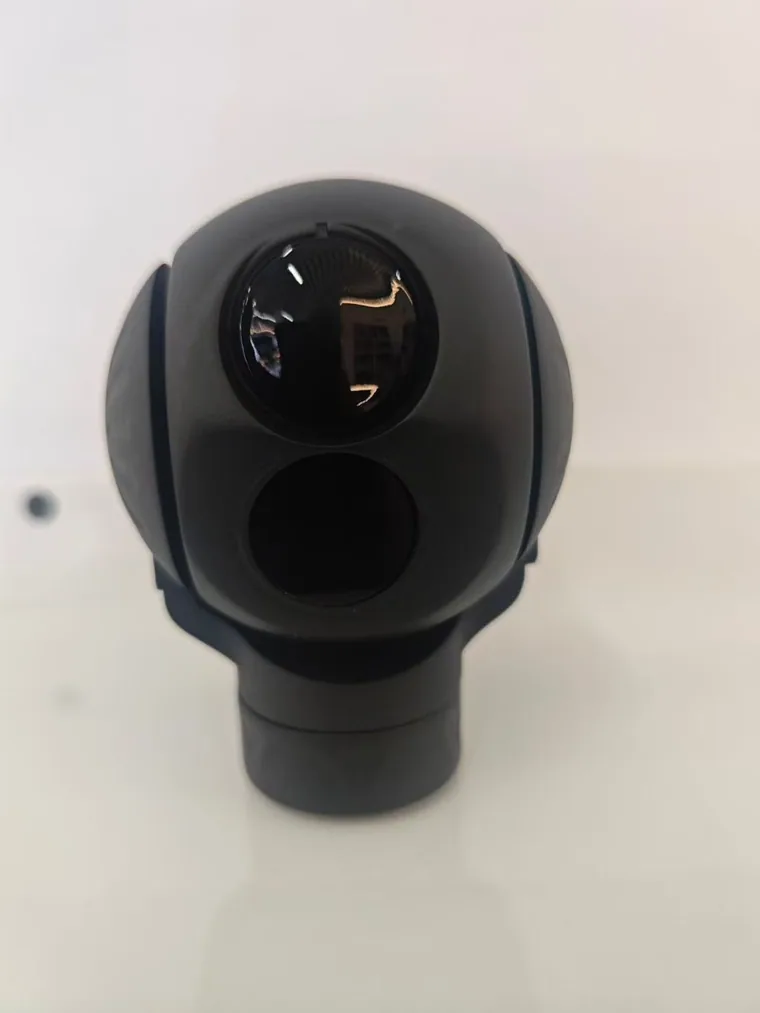
A single-sensor camera is simpler, lighter and cheaper. An EO/IR configuration earns its weight when a mission needs visible and thermal imagery at the same time, which is why inspection work often ends up there. Pick the functions the mission needs instead of defaulting to the most complex configuration available. If you’re still weighing the channels themselves, EO vs IR vs EO/IR gimbal cameras sets out where each one pays off.
Step 3: confirm platform compatibility
Aircraft type and model
Tell the supplier what the payload is going on: multirotor, fixed-wing, VTOL or something else. The airframe sets the vibration environment, the mounting space and the weight ceiling, so it belongs in the first email rather than the third.
Maximum payload weight
Work out the allowance for the complete installed system, cables, mount and accessories included. A camera weighed on its own tells you very little about what it does to the aircraft.
Mechanical mounting dimensions
Ask for dimensional drawings, the mounting pattern, connector positions and the movement envelope. The head needs clearance through its full travel, and that clearance has to exist on your airframe rather than on a bench.
Power supply specifications
State the voltage and current your aircraft can supply. The supplier should confirm the operating voltage, normal consumption and any startup or peak draw, because the peak is what trips a supply that looked adequate on paper.
Control interfaces and protocols
Serial, Ethernet and the supported UAV protocols all show up in this part of the brief. A port isn’t a protocol: an RS-422 connector doesn’t mean MAVLink commands are implemented on it. The official MAVLink gimbal protocol documentation describes the orientation control and management functions a compatible device has to implement [2]. On the HITS range, MAVLink control and PX4 or ArduPilot compatibility apply to selected models and are confirmed per model and per firmware build, so ask for the supported message list for the exact unit you’re buying. Our integration guide covers gimbal manager roles, command support and the bench to flight test sequence.
Video output and ground station requirements
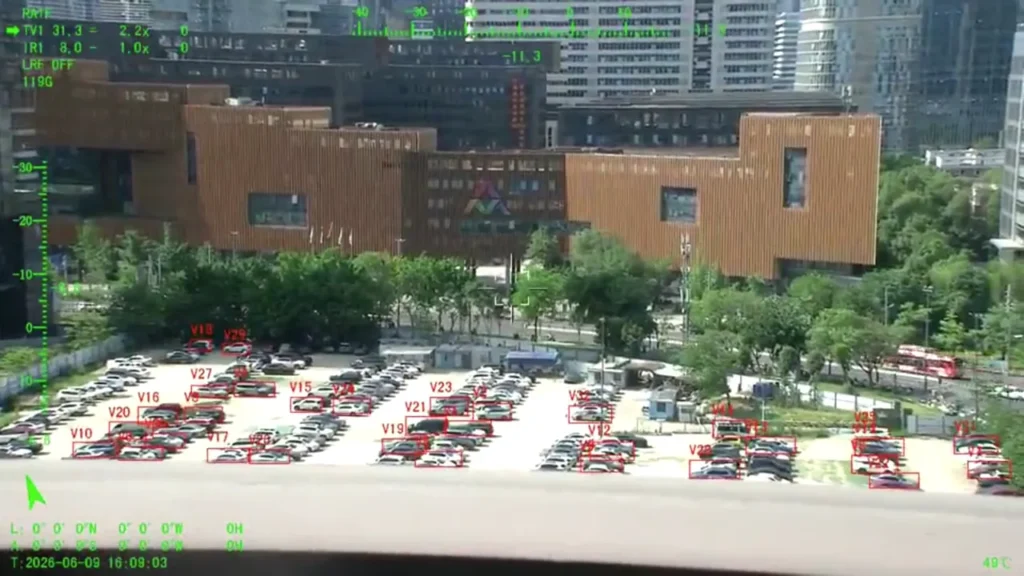
The camera has to deliver video that your ground station and data link can actually carry. Codec, resolution, frame rate, network configuration and recording all matter, and so does what happens to the recording when the link drops. PX4 documents more than one way to integrate and control a gimbal [3]. The combination is what gets tested in the end, on your hardware and your firmware rather than on a demonstration unit.
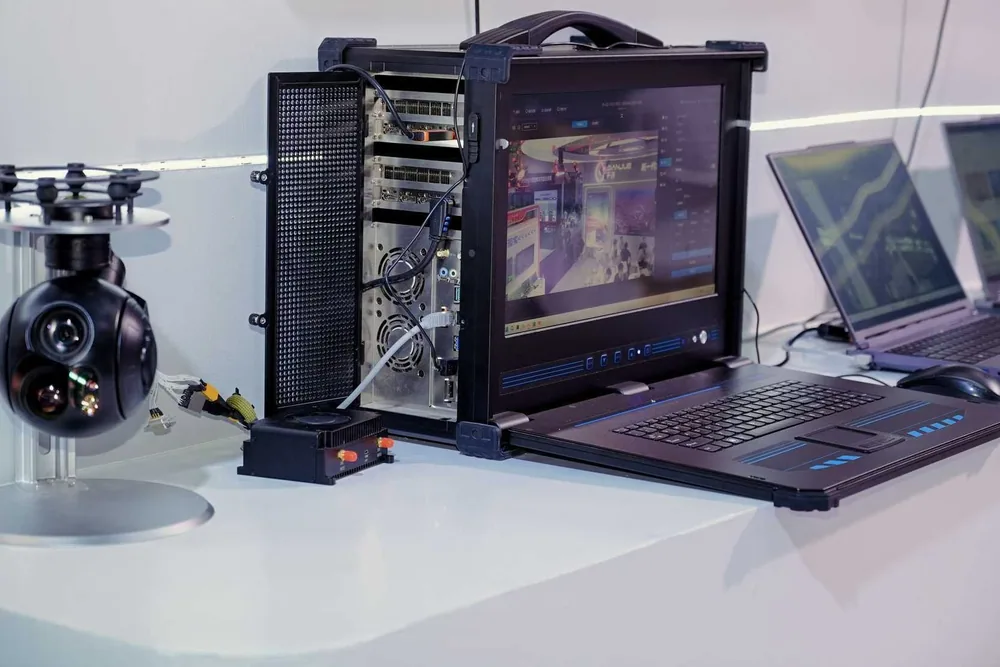
See the video path working before you order
Reading a codec off a datasheet is one thing. Watching the stream arrive on the monitor you’ll actually fly with is another, and it’s the version that finds problems.
Ask for the video to be demonstrated over a link that resembles yours, with the payload recording at the same time. If the demonstration only ever happens over a bench cable, the data link is still an unknown.
Step 4: set stabilisation and environmental requirements
Two-axis or three-axis
Two-axis and three-axis heads give you different mechanical control, and neither is automatically the better purchase. The axis arrangement, the motion of your airframe and what the imagery is used for decide it. Our comparison of 2-axis and 3-axis gimbal cameras sets out where the extra axis earns its weight and where it doesn’t.
Stabilisation accuracy and performance testing
Ask how any stabilisation figure was measured. Pointing accuracy, repeatability and residual vibration in the image are three separate characteristics, and a number without a method behind it can’t be compared with anything. HITS publishes line-of-sight error and how it’s measured on the quality control page, which is the kind of evidence worth asking every supplier for.
Operating temperature and environmental conditions
Temperature range, ingress protection and the reliability testing behind them should match where the aircraft flies. Desert, coastal and high-altitude work each stress a payload in different ways, and the datasheet should state which conditions a rating actually covers.
Vibration, weather protection and reliability
Aircraft vibration and outdoor conditions affect image quality long before anything fails outright. Representative test footage and documented environmental checks tell you more than a general durability claim, so ask for both and watch them.
Step 5: request the technical documentation
Documentation is where a purchase stops being a catalogue transaction. Ask for the whole pack for the specific model you’re considering, not a family brochure, and read it before the sample arrives rather than after.
Product datasheet
The datasheet should name the exact model and set out the sensor configuration, weight, dimensions, power consumption, interfaces and operating limits. If a figure on the datasheet only holds under conditions the datasheet doesn’t state, that’s worth asking about.
Mechanical drawings
Installation dimensions, mounting details and the clearance the head needs through its travel. These are the drawings your mechanical engineer needs, and they should be provided as drawings rather than as a description in an email.
Interface control documentation
An interface control document, or ICD, describes the electrical connections, control protocols, supported commands and relevant communication settings. It’s the document that turns a compatibility conversation into an engineering one.
Integration and software documentation
Depending on the model, you may also need firmware information, video stream instructions, an SDK or API documentation. Ask early, because the answer often changes the project schedule.
Test reports, inspection records and certification evidence
Request inspection records, applicable test reports and any certification evidence your market requires. On the HITS range every finished payload is checked against a written per-unit inspection record and ships with a calibration and test report, and the quality control page lists what that record covers [5]. Ask for a sample record for the exact model you’re quoting, and compare it with the unit that arrives.
One caution about certificates. A quality management system certification such as ISO 9001 describes how a company manages quality, and it doesn’t prove by itself that a particular camera meets a particular technical requirement [4]. Product-level verification still has to happen, which is what the sample test in Step 6 is for.
Step 6: evaluate samples and product quality
Engineering sample availability
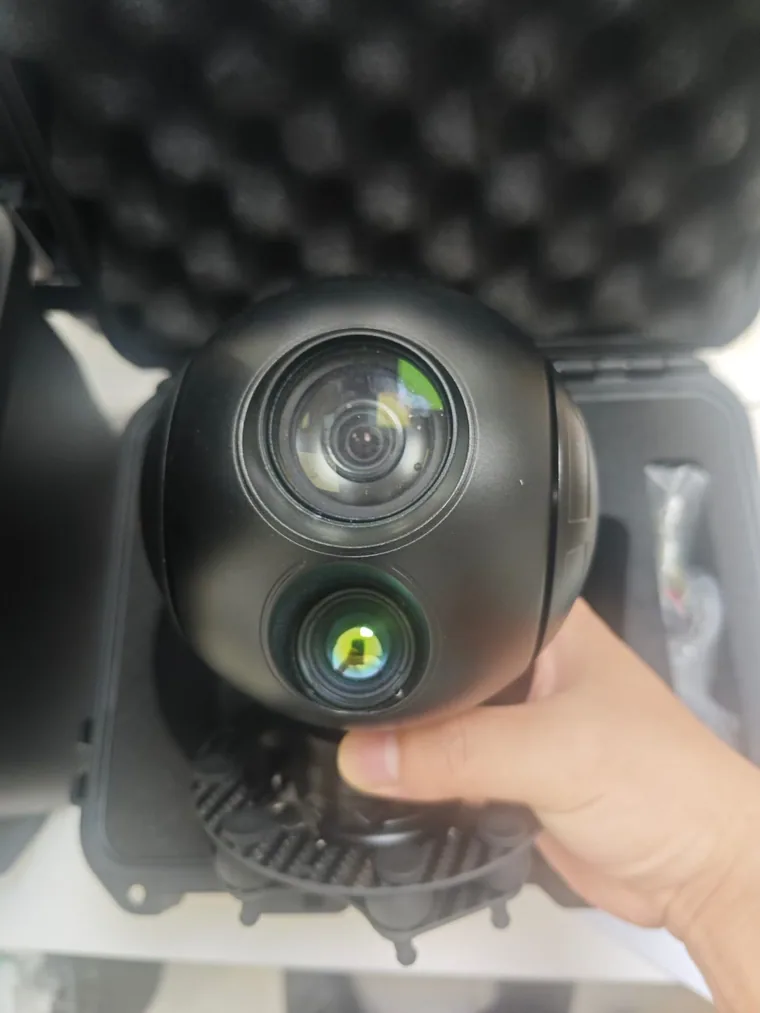
For a new integration, a sample before the volume order is usually money well spent. Confirm the sample configuration, its price, the delivery date and what technical support comes with it, and put the acceptance criteria in writing before it ships.
Sample testing and validation
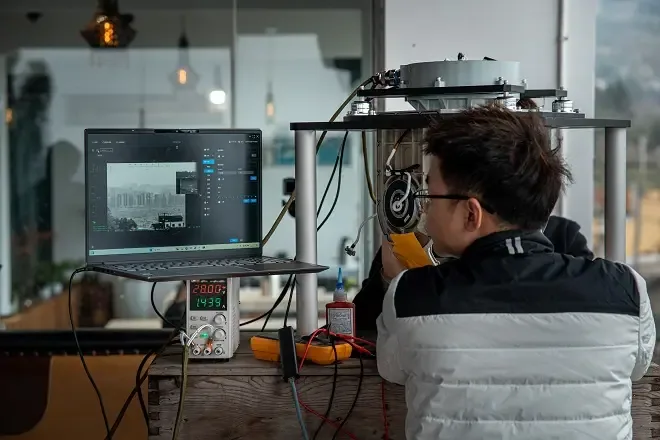
Test the things that decide whether the payload flies: mechanical fit, electrical compatibility, camera control, video output and imaging performance, plus every function you paid for. Record what you tested, on which firmware, and what the result was. That record is what you’ll rely on when the second batch arrives.
Product acceptance criteria
Agree the acceptance criteria before testing starts, so nobody argues about the result afterwards. The table below is a workable starting structure rather than a standard.
| Test item | Example acceptance requirement |
|---|---|
| Electrical input | Operates across the agreed supply range, including startup |
| Camera control | Every required command executes correctly on the agreed firmware |
| Video output | Required stream is received, displayed and recorded |
| Stabilisation | Meets the agreed test limits under a stated test condition |
| Mechanical fit | No interference through the full movement envelope |
| Documentation | Required drawings, records and reports supplied |
These are example acceptance categories, not universal performance standards. Numeric thresholds have to be agreed for each project and each payload type.
Quality control and batch consistency
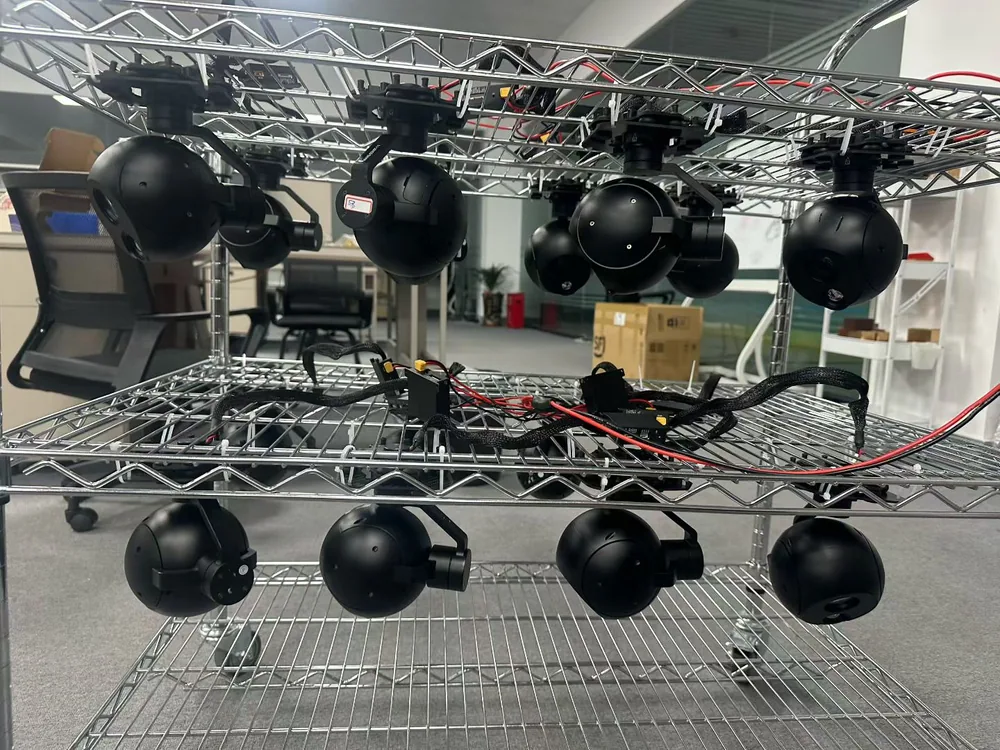
Ask how the manufacturer controls production changes and how it verifies finished units. The useful answers are specific: what’s checked, against what criterion, who signs it off, and whether the record is kept per unit. HITS publishes a per-unit inspection record covering appearance and identity, firmware versions, communications, video, operating modes, both imaging channels, detection and tracking where fitted, search envelope, stabilisation accuracy, rangefinder alignment, boresight and power consumption [5]. The factory page sets out the seven stages a payload travels through and where the paperwork is produced.
Defect handling and warranty process
The purchase agreement should say how a failure gets reported, investigated, repaired or replaced, and who pays the freight in each case. On larger orders, an agreed inspection and acceptance procedure keeps small problems from becoming arguments. ANSI/ASQ Z1.4 is the usual reference point for attribute-based acceptance sampling, where it suits the product and the contract [6]. It doesn’t replace functional testing of safety-critical or individually specified equipment.
Step 7: compare commercial terms
Unit price and product configuration
Two quotations are comparable only when they cover equivalent configurations. Check what’s inside the price: sensors, lens, stabilisation, cables, mounting accessories, software and documents. A lower number that leaves out the mount, the cable set or the calibration report isn’t a lower number.
Sample price and minimum order quantity
Evaluation samples and production quantities often carry different prices. Ask for the minimum order quantity for the standard product and separately for a customised version, because the two answers usually differ and the custom figure is the one that affects your plan.
Batch production lead time
Ask the supplier to separate stock, manufacturing time, engineering development and international transport. A single lead time figure blends four very different waits, and only one of them moves when you pay for expedited shipping.
Incoterms and shipping conditions
International buyers should agree on the applicable Incoterms 2020 rule and the named location, because the rule decides where cost and risk change hands [7]. Two quotations can look a few hundred dollars apart and actually differ on who carries the freight risk between the factory gate and the destination airport. A named destination doesn’t always mean the seller carries the risk all the way there.
Payment terms and currency
Put the currency, payment schedule, beneficiary details and quotation validity in writing, along with the bank charges that apply to your side of the transfer. Quotation validity matters more than it looks, because component pricing moves.
Spare parts, warranty and after-sales support
Support is worth real money over the operating life of the equipment. Check the warranty duration, how spare parts are supplied, how a repair is handled across a border, and whether you get engineering help when a field problem needs one. Comparing unit prices alone hides all of this.
Step 8: prepare your gimbal camera RFQ
A useful RFQ is detailed enough that a supplier can recommend a configuration without asking you the same questions twice. Send it as a document, not a paragraph, and number the points so both sides can refer to them.
Company and contact information
Company name, country, contact person, business type and the intended application. Naming the application early saves a round of correspondence, because it tells the supplier which payload families are worth quoting.
UAV platform and technical requirements
Aircraft model, payload capacity, available power, mounting requirements, imaging needs, control interface and video output. This is the section that decides technical fit, so it deserves the most detail.
Target quantity and delivery schedule
Sample quantity, estimated production volume and the date you need delivery. If your schedule is elastic, say so. Suppliers plan differently around a firm date.
Customisation and OEM requirements
List any mounting, connector, software, branding or other engineering change you need. OEM and ODM work is normal on the HITS range, and the scope of a customisation decides the engineering time, so describe it precisely rather than saying “custom” and hoping.
Documents and support required
Say which datasheets, drawings, sample tests, integration support and compliance documents you need. Requests for paperwork are easier to answer at the quotation stage than three weeks before shipment.
Example: industrial UAV gimbal camera RFQ template
Copy this into an email or a purchasing document and fill in the brackets.
| RFQ field | Example buyer requirement |
|---|---|
| Company | [Company name and country] |
| Application | Industrial infrastructure inspection |
| UAV platform | [Aircraft model / VTOL / multirotor] |
| Maximum camera weight | [e.g. 800 g including agreed accessories] |
| Sensor configuration | EO / thermal / EO/IR |
| EO requirement | [Resolution, focal length or viewing task] |
| Thermal requirement | [Detector, NETD, lens, radiometric needs] |
| Stabilisation | [Required axes and performance criteria] |
| Power supply | [Available voltage and power budget] |
| Control interface | [Required protocol and commands] |
| Video output | [Codec, stream format and resolution] |
| Quantity | [Sample quantity and estimated batch quantity] |
| Delivery | [Destination and required date] |
| OEM requirements | [Mounting, software, branding or other changes] |
| Documentation | [Datasheet, ICD, drawings, test reports] |
| Commercial request | [Price, MOQ, lead time, warranty, Incoterms] |
The bracketed values are placeholders. Requirements should reflect your aircraft and project rather than being copied across unedited.
Step 9: compare suppliers with a standard evaluation matrix
Once the quotations are in, the temptation is to line up the totals and pick the lowest one. That works when the products are identical and the services are identical. UAV imaging payloads are neither, so a single price column can’t carry the decision on its own. What helps is scoring every supplier against the same five categories, in the same order, with the same evidence requirements.
Five categories cover most of what matters, and they’re weighted rather than equal because they don’t carry the same risk. Score each supplier from 1 to 5 in every one.
Technical compatibility
The proposed camera has to satisfy the platform, sensor, power and interface requirements you can’t move on. A supplier who fails a critical compatibility point doesn’t get rescued by a low price, however good the rest of the offer looks. Check this category first, because everything further down is wasted effort if the payload won’t fit the aircraft.
Product quality and verification
Score what a supplier can show rather than what they assert: test evidence, documentation, how the sample actually performed, and whether production units hold the same standard as the sample did. Our quality control page shows the sort of inspection and test record worth asking every supplier to produce.
Total commercial cost
Total cost runs past the unit price. Add accessories, customisation, shipping, integration time, spares and the support you expect to lean on across the operating life. Two suppliers thousands of dollars apart on the invoice can land much closer once the whole package is counted, and occasionally it flips the other way.
Delivery capability
Production availability, the delivery commitment and spare parts support all sit here. A date and a parts plan somebody has to stand behind are worth more than a fast promise nobody does.
Technical support and supplier reliability
Engineering responsiveness, documentation quality, and whether integration problems actually get solved decide how the next few years go. This is the category buyers most often leave out of a comparison, and the one that makes the most noise when something needs fixing.
Example supplier evaluation scorecard
Score each supplier from 1 to 5 in each category, then weight the scores. The weights below are a starting point rather than a rule, so move them to match your project.
| Evaluation category | Weight |
|---|---|
| Technical compatibility | 30% |
| Product quality and verification | 25% |
| Total commercial cost | 15% |
| Delivery capability | 15% |
| Engineering and after-sales support | 15% |
| Total | 100% |
Turning the individual scores into one comparable figure:
Weighted score = Σ (category score ÷ 5 × category weight)
Worked through, a supplier scoring 4 out of 5 across every category lands at 80 out of 100. Same method, same weights, every supplier, so the comparison is at least honest about what you valued. It also makes the trade-off visible: if you go with the cheaper head, you can see exactly what you gave up and where.
Settle the pass or fail points first. Mandatory safety, compliance and compatibility requirements are pass or fail, not scores. Decide them before you weight anything, because a weighted total will happily let a lower price average away a risk you shouldn’t be carrying. A supplier who fails a required standard doesn’t get to score their way back into the shortlist.
Step 10: run the final checks before you place the order
The supplier is chosen. Before the purchase order goes out, five checks are worth an hour of your time. They’re cheap now and expensive later.
Confirm the final product configuration
The quotation and the purchase order should name the exact model, the sensor configuration, the firmware version where it matters and every accessory that ships in the box. “As discussed” isn’t a configuration, and it’s the phrase that starts most post-delivery arguments.
Confirm sample or factory acceptance requirements
Agree up front who inspects, under what conditions, against which acceptance criteria, and what happens if a unit doesn’t meet them. If you’re using acceptance sampling, agree which standard applies so both sides measure the same way. HITS publishes its inspection stages and sampling method on the quality control page, which is the level of detail worth pinning down with any supplier.
Review export and import requirements
UAV imaging payloads can attract export-control, end-use, end-user and destination-country checks. Confirm the licensing, documentation and restrictions that apply before anything ships, and confirm which side is responsible for each of them. Screening depends on the actual transaction and the jurisdictions involved, so don’t assume every camera configuration is unrestricted just because one of them was. The U.S. Bureau of Industry and Security publishes due-diligence principles for transactions that fall under its rules [8], and our export compliance page sets out how we handle the paperwork on our side.
Agree warranty and after-sales terms
Write down the coverage period, the exclusions, how a repair is arranged, and who pays for transport or replacement. Warranties are easiest to agree while both sides are still keen to sign.
Confirm order documentation
Keep the accepted quotation, the purchase order, the agreed specification, the payment terms, the delivery conditions and the required documents together in one file. When a question comes up three months into production, that file answers it without a round of emails.
Frequently asked questions
What information should I include in a UAV camera RFQ?
A useful RFQ covers the application, the aircraft platform, sensor requirements, weight and power limits, control and video interfaces, quantity, delivery schedule and the technical documents you need. The template in Step 8 is a working example you can copy. The single most common gap is the application: suppliers can recommend a configuration far faster when they know what the aircraft is actually doing.
Can I request a custom gimbal camera configuration?
Often yes. Some manufacturers support OEM or ODM work, and typical changes involve mounting structures, electrical interfaces, software functions or branding. Feasibility, engineering cost and lead time all have to be confirmed for the specific change, so describe it precisely in the RFQ rather than asking for “customisation” and leaving the supplier to guess at the scope.
Should I test a sample before bulk ordering?
Yes, and especially when the payload is new to your aircraft or the configuration involves customisation. Sample testing confirms compatibility on your airframe, and it gives both sides the chance to agree measurable acceptance criteria while there’s still time to act on them. It’s also the cheapest place to discover that a mounting pattern doesn’t line up.
How do I compare different manufacturer quotations?
Make sure they cover equivalent configurations first, because a quotation that omits the mount, the cable set or the calibration report isn’t comparable to one that includes them. After that, weigh total cost, test evidence, delivery and support rather than unit price alone. The scorecard in Step 9 gives you a repeatable way to do that.
What is the difference between OEM and ODM?
OEM usually means the manufacturer builds to another company’s brand or specification. ODM usually means the manufacturer also contributes the product design and development, not just the production. Suppliers use both words loosely, so confirm the actual development scope and who owns the resulting design in the contract rather than relying on the label.
What to take away
A procurement checklist is really a way of connecting technical requirements to commercial decisions. The process starts with the mission and the aircraft, not with a model number, and the technical questions come first: sensor configuration, stabilisation, mechanical installation, power, interfaces and image quality. Commercial terms get settled after those, not instead of them.
The four habits that reduce buying risk are a clear RFQ with the requirements separated from the nice-to-haves, realistic sample testing on your own platform, a consistent way of scoring suppliers, and acceptance criteria written down before production begins. None of them are complicated. All of them cost less than discovering the problem after the units arrive.
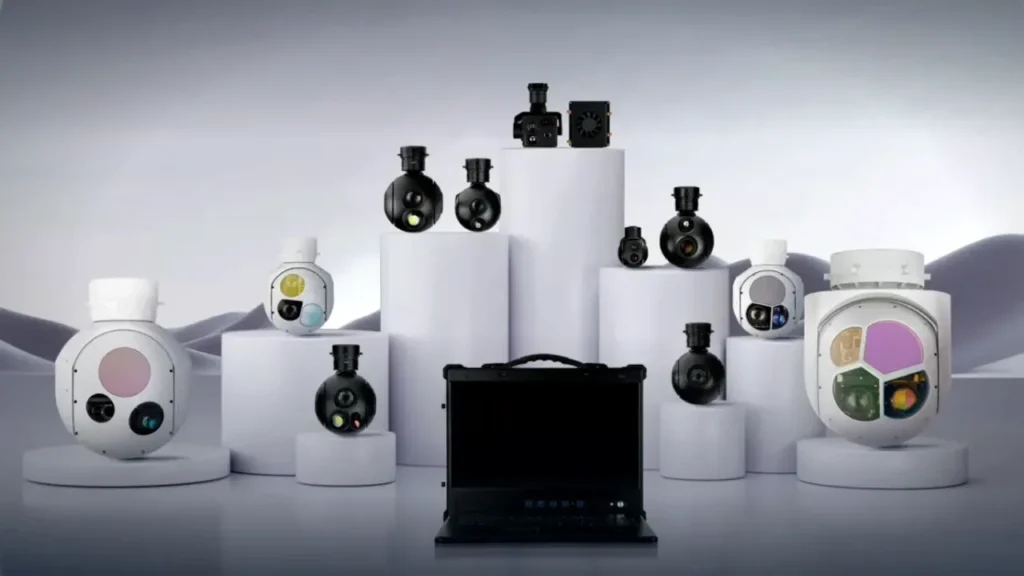
HITS builds industrial UAV gimbal camera configurations across EO, thermal and EO/IR categories, in both two-axis and three-axis stabilised payloads. Buyers can review the gimbal cameras range and the published quality control information, or send us a project brief directly.
For an accurate quotation, the first enquiry needs the UAV platform, the imaging requirements, the interface needs, an estimated quantity and the delivery destination. Put those in one email and you’ll get a much more useful answer than a request for a price on a model number.
References and technical sources
- [1] Teledyne FLIR – Infrared camera accuracy and uncertainty in plain language. Emissivity, measurement conditions and how target size affects a temperature reading.
- [2] MAVLink – Gimbal protocol v2. Official gimbal orientation, control and device-communication documentation.
- [3] PX4 – Gimbal configuration. Official guidance on gimbal control and flight-controller integration.
- [4] ISO – ISO 9001 quality management systems. Quality management system requirements and certification context.
- [5] HITS – Quality control. Manufacturer-published inspection and testing information.
- [6] American Society for Quality – ANSI/ASQ Z1.4 and Z1.9 sampling standards. Acceptance sampling resources.
- [7] International Chamber of Commerce – Incoterms 2020. Official international trade rules for delivery, cost and risk allocation.
- [8] U.S. Bureau of Industry and Security – Know your customer guidance and red flags. Transaction-screening principles for transactions subject to applicable rules.
- [9] HITS – Gimbal cameras product range. Manufacturer-published camera models and configurations.
Editorial note: the RFQ template, supplier scorecard and acceptance checks in this article are practical examples, not official technical standards. Product features, certification, pricing, delivery terms and compliance requirements have to be verified for each transaction. Manufacturer-published information doesn’t replace independent evaluation or current model-specific documentation.
Send your requirements and get a comparable quotation
Tell us the aircraft, the imaging task, the interfaces you need and the quantity you’re planning. We’ll come back with a configuration that fits, the documentation behind it, and a straight answer on lead time, including where a customisation will push the schedule out.
Related reading: how to choose an industrial UAV gimbal camera puts the payload decision in order; the integration guide covers mounting, power, control and video once the camera arrives; choosing a manufacturer in China covers the supplier-side questions; two-axis payloads and three-axis payloads list the configurations those requirements usually resolve to; and long-range selection works through zoom, field of view and laser rangefinding trade-offs.