Picking a gimbal camera for an industrial UAV looks like a shopping comparison. It’s really a fit problem, and the answer changes depending on what the aircraft has to do on a Tuesday afternoon in February.
Most buyers start in the wrong place. They open a catalogue, sort by zoom range, and end up comparing numbers that were measured under conditions nobody will ever fly in. The aircraft, the mission and the way the pictures will be used are what decide the payload, not the other way round.
The good news is that the process is short once you know the order to do it in. Work out the mission, work out what the sensor has to see, then check weight, power and interfaces against the airframe you already own. Everything after that’s negotiation.
This guide is written for the people who have to sign the purchase order and then live with it: UAV OEMs, integrators, and the procurement teams who get forwarded a datasheet at 6pm and asked whether it’s a good idea.
The short version
- Mission first, catalogue second. Write down what the camera has to see, at what distance, in what light, before you look at a single product page.
- Weight isn’t one number. The head, the bracket, the cable and the connector all fly. So does everything else on the same power rail.
- EO, thermal and EO/IR solve different problems. Thermal only helps if there’s a temperature difference to see, and only if the lens and detector can resolve it at your range.
- Interface isn’t protocol. A camera can have the right connector and still not understand the commands your flight controller sends.
- Ask for the drawing for the exact model. Family brochures are for shortlisting. Integration happens with one specific unit.
What an industrial gimbal camera actually is
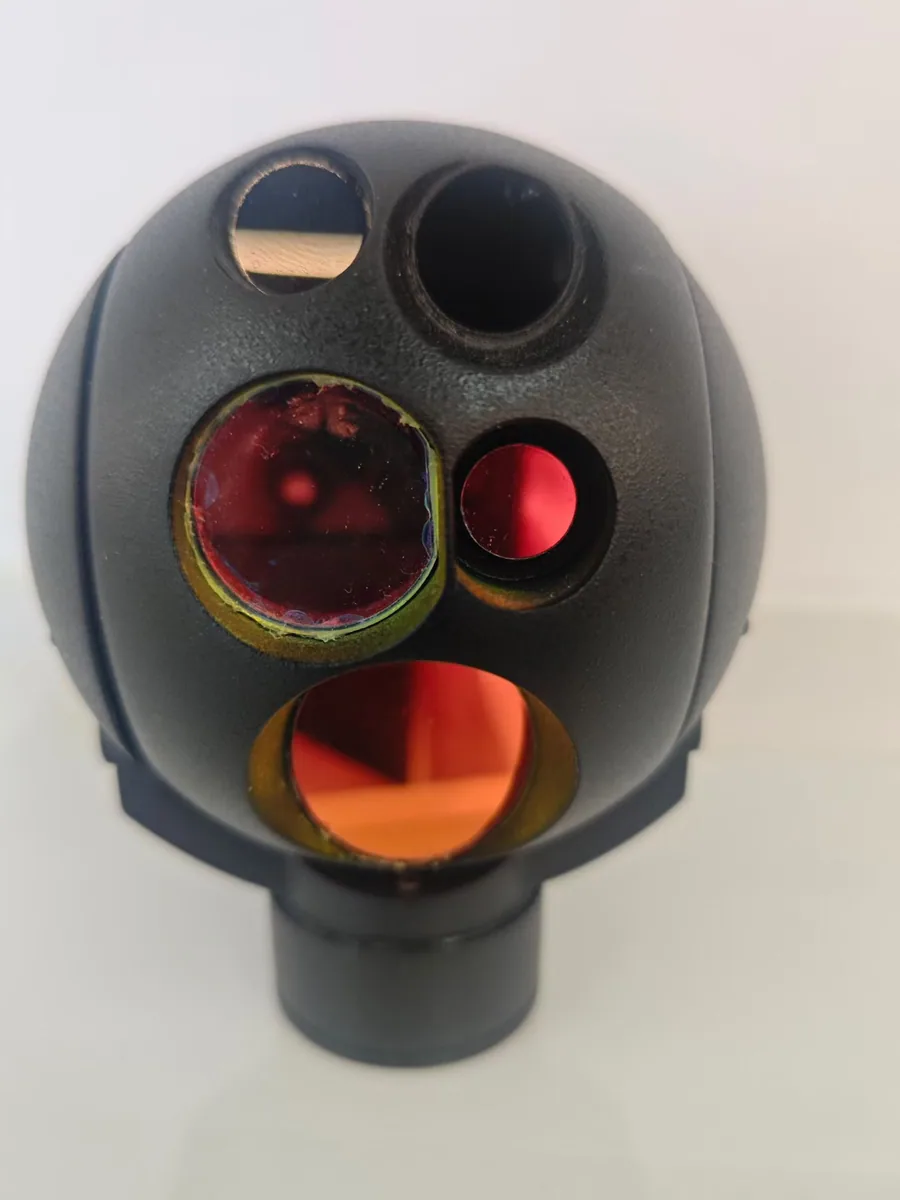
A gimbal camera is an imaging system that holds its own aim while the aircraft moves underneath it. That’s the whole idea: the aircraft flies, the payload looks, and the two jobs stop interfering with each other.
What the gimbal is doing for you
Three things, really. It keeps the image still while the airframe shakes, it points the sensor where the operator wants it, and it holds that aim long enough for the picture to be worth keeping. Take any of the three away and the footage stops being usable for inspection work.
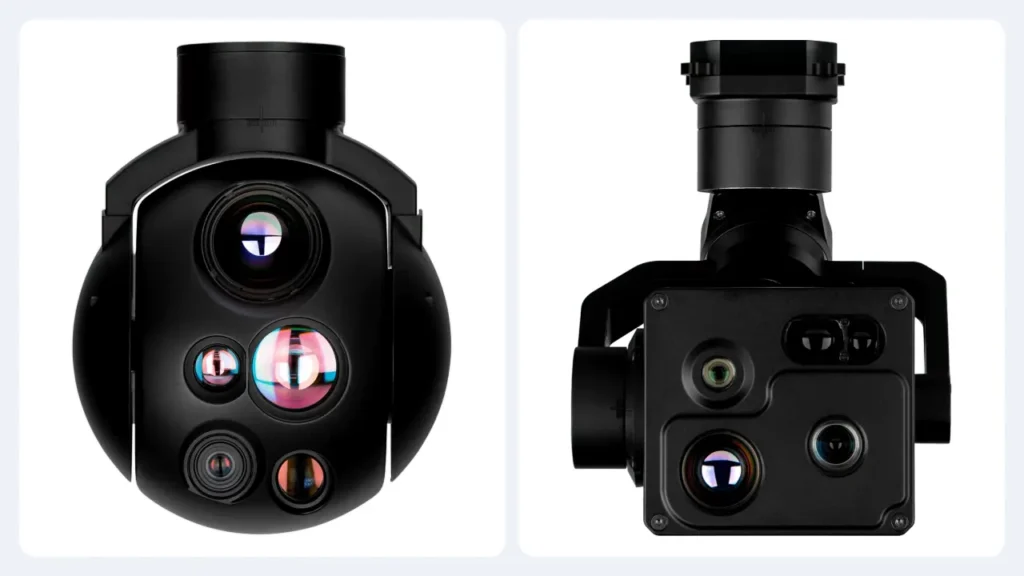
What sits behind the gimbal varies. A visible-light camera, a thermal channel, both at once, sometimes a laser rangefinder or an onboard detection module. Those choices are what you’re really selecting between, and they’re covered further down.
Industrial versus consumer gimbals
A consumer gimbal is built to make nice video on a nice day. An industrial payload has to survive being bolted to something that vibrates, lives outdoors, and is expected to keep working for years.
That difference shows up in unglamorous places. A power input range that tolerates a sagging battery. A connector that doesn’t work loose after two hundred hours. Documentation that lets an engineer wire it up without calling anyone. It also shows up in the fact that you can usually get a replacement unit and a calibration record, which matters more than most buyers expect at the start.
Why stabilisation decides whether the pictures are usable
Vibration is the enemy of detail. A wide lens forgives a lot of it. A 30x zoom doesn’t, because every wobble is multiplied by the same factor as the scene, and a single blurred frame at long range can make an inspection inconclusive.
Stabilisation helps with movement, but it isn’t a cure for a badly mounted payload. If the airframe has a resonance the mount amplifies, no amount of control loop tuning will save the image. ArduPilot’s own camera and gimbal documentation treats vibration as an aircraft-level problem rather than a camera-level one, which is the right way to look at it [1].
Start with the mission, not the catalogue
The most common way a payload project goes wrong is that somebody buys a camera first and then works out what it will be used for. The second most common is that the mission is described as “surveillance” and everyone nods.
Get specific early. A camera that has to read a serial number on a transformer from 200 m is a different instrument from one that has to spot a person in a field at night from 800 m. Both may be advertised as long-range payloads.
Three missions, three different answers
Infrastructure and power line inspection
This is a detail job. You need enough resolution and enough zoom on the thing you’re inspecting, and you need it stable enough to hold still for a second or two. Visible light does most of the work, and thermal earns its place when you’re looking for heating that shouldn’t be there.
If you actually need to measure a temperature rather than see a hot spot, say so at the start. Radiometric measurement is a different capability from thermal imaging, and not every thermal camera has it. FLIR’s technical material on radiometric thermal explains the distinction and where the measurements hold up [4].
Search and rescue
SAR work usually wants both channels. Daylight on a bright day, thermal when the light goes or when the target is a person against cold ground. What decides whether it works is not sensor resolution. It is whether the thermal contrast between the target and the background is enough for the lens you chose, at the range you actually need.
Maritime and environmental monitoring
Targets move, backgrounds are flat, and the operating conditions are unkind: salt, spray, wind, and a platform that never quite sits still. Wide-area search and long-range identification pull in opposite directions here, so be honest about which one the mission is really about.
| Application | Starting configuration | What decides the choice |
|---|---|---|
| Daytime visual inspection | EO gimbal camera | Resolution, focal length, weight |
| Electrical thermal inspection | Thermal or EO/IR | Whether you need radiometric data, IFOV, lens |
| Multirotor industrial inspection | Lightweight EO or EO/IR | Weight, power, mounting |
| Long-endurance VTOL inspection | EO/IR or EO zoom payload | SWaP, vibration, compatibility |
| Search and rescue support | EO/IR | Thermal contrast, field of view, stability |
| Maritime environmental monitoring | EO or EO/IR | Zoom, stability, environmental limits |
Treat that table as a starting point for the conversation, not as a specification. Two teams looking at the same row will end up with different payloads, and both can be right.
Day, night, or both
Ask what time of day the aircraft will actually fly. If the answer is “whenever the job comes in”, you’re buying an EO/IR payload and you should budget the weight, the power and the two separate video streams from the beginning.
If it’s daytime-only work in good weather, an EO-only payload is cheaper, lighter and simpler, and there’s no shame in that. A lot of money gets spent on thermal channels that get used twice a year.
Three questions that pin down the sensor
Whoever is writing the requirement should be able to answer these without looking anything up:
- What object or condition does the camera have to see?
- At what distance, and in what conditions?
- Is looking enough, or does somebody need a number: a temperature, a distance, a coordinate?
Those three answers turn a vague brief into something a supplier can quote against. They also kill a surprising number of bad ideas early, which is the cheapest time to kill them.
The payload families you will be offered
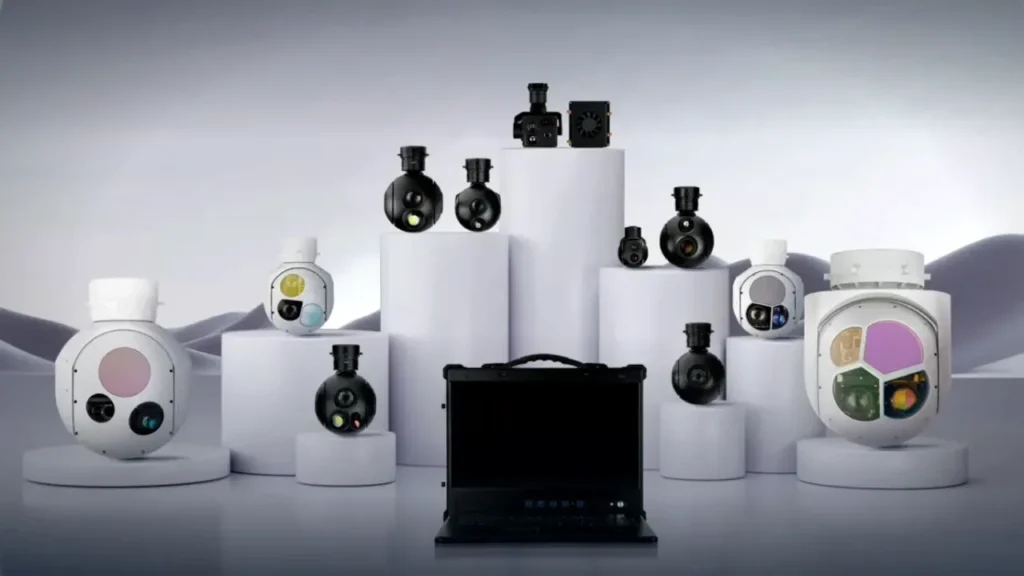
Nearly every industrial payload fits into one of four groups. Knowing which group your mission needs cuts the shortlist down fast.
Electro-optical gimbals for daylight work
An EO payload is a daylight camera on a stabilised mount, usually with optical zoom. It’s the default choice for structural inspection, equipment observation and anything that needs colour detail or a readable image.
Zoom is where most of the money goes, and where most of the overspend happens too. A 30x lens on a small sensor doesn’t automatically beat a 10x lens on a better one. What matters is how many pixels land on the thing you’re inspecting at the range you care about.
Thermal gimbals for infrared work
A thermal camera sees radiated heat rather than reflected light, which is why it works at night and why it’s genuinely useful for finding electrical faults, moisture and heat loss.
Thermal resolution is the number everyone quotes and the least useful one on its own. A 640 × 512 detector behind a wide lens and the same detector behind a long lens are completely different tools. What you want to compare is the field of view and the instantaneous field of view. Those decide how many pixels a person, a hot joint or a leaking flange occupies at your working distance. FLIR’s distance-to-size guidance is a good primer on the arithmetic [3].
One more thing worth checking before you commit: thermal sensitivity, usually quoted as NETD. A noisy image with high resolution is harder to read than a clean one with less.
EO/IR dual-sensor payloads
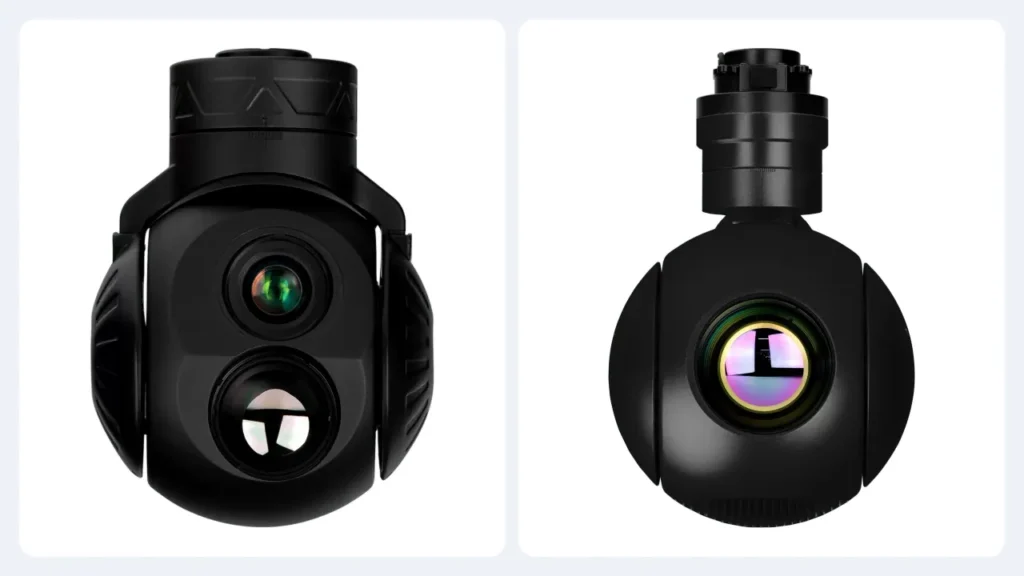
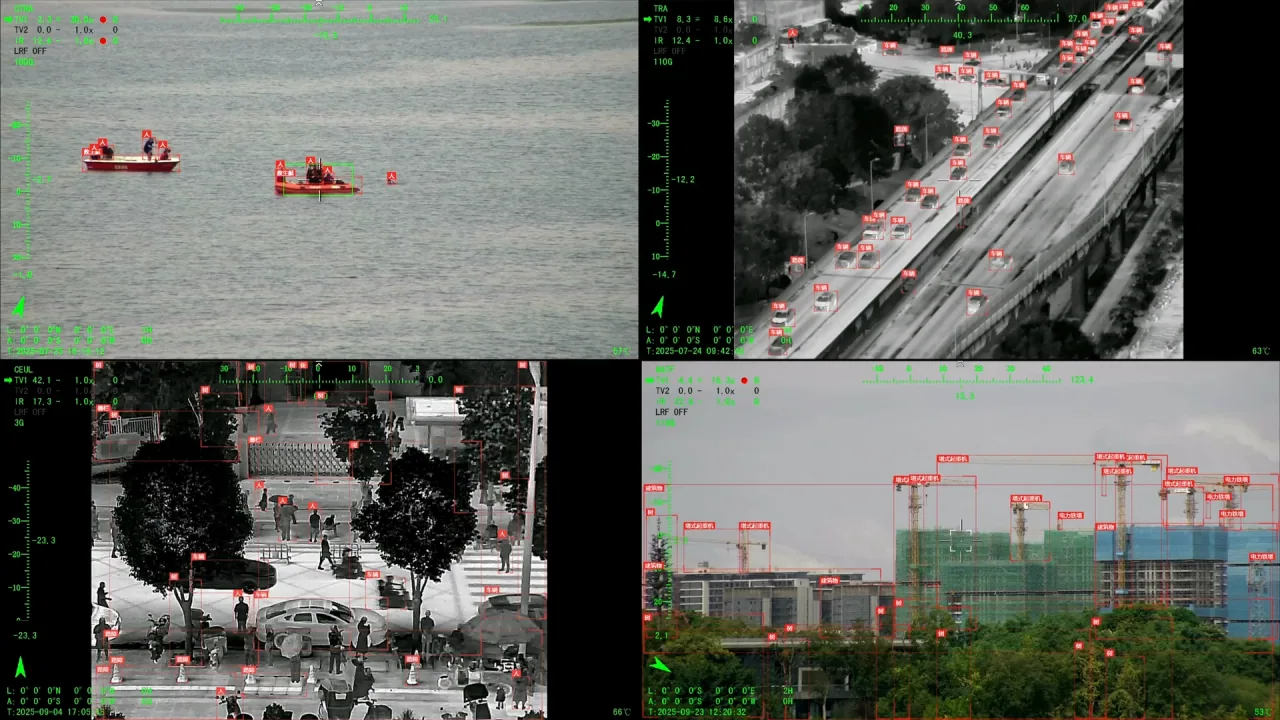
An EO/IR head puts the daylight and thermal channels inside one stabilised housing, usually boresighted so both look at the same thing. That’s the practical advantage: the operator doesn’t have to reconcile two cameras with different fields of view in their head.
The cost is weight, power, cable complexity and money, all at once. A dual-sensor head is also harder to mount on a small multirotor, because the extra mass sits exactly where you least want it.
Onboard AI and laser rangefinders
These are the two features most often bought on optimism, so evaluate them separately and sceptically.
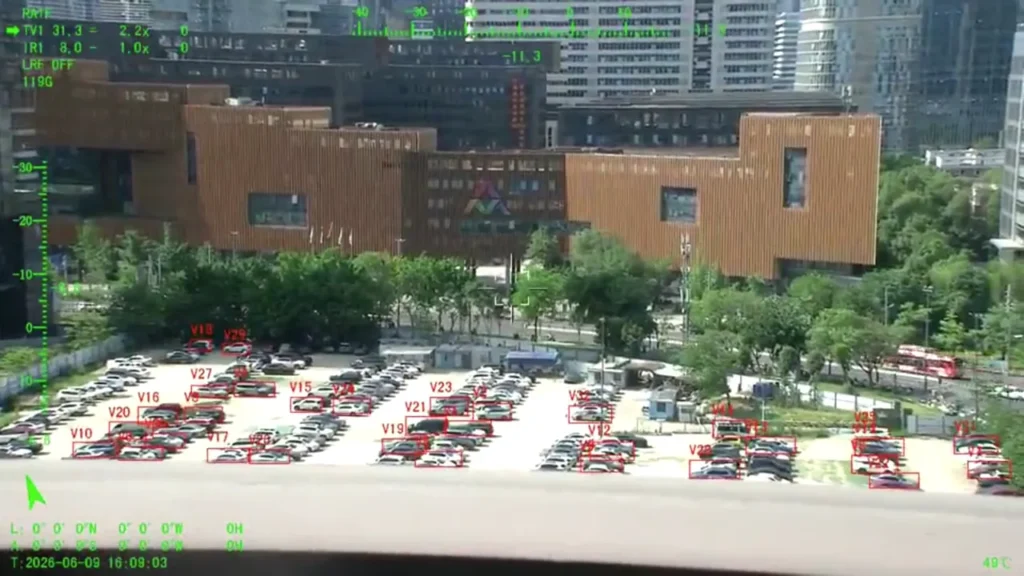
Onboard AI detection and tracking is genuinely useful when it works. The questions to ask are dull ones: which object classes are supported, under what conditions, at what range, and what happens when the tracking is wrong. Ask for a demonstration with your own footage if you can.
A laser rangefinder gives you a distance, within its stated limits and eye-safety class. It isn’t a substitute for recognition range on the camera, and the two numbers should never be quoted as if they were the same thing. A laser that reaches 5 km doesn’t mean your camera can identify anything at 5 km.
The specifications that actually decide the choice
Once you know the mission, the datasheet stops being intimidating. Four or five numbers do most of the work, and the rest is detail you confirm later.
Weight, and everything else that flies with it
The datasheet weight is the head on its own. The aircraft carries the head, the bracket, the connector, the cable run, the strain relief and the padding somebody added to stop it chafing.
Add all of it up before you compare against your payload budget, because the difference is often 15 to 20 per cent. And remember the budget itself isn’t fixed: payload weight comes out of endurance and out of whatever else you were planning to fly.
A quick sense of the spread across a real range, using published figures for four models in the HITS HQ series [6]:
| Example model | Published sensor configuration | Listed weight | Where it tends to fit |
|---|---|---|---|
| HQ-64DB | Dual daylight channels, 2688 × 1520, two-axis | 240 g | Light multirotors, daytime-only work |
| HQ-64DA | 2688 × 1520 daylight plus 640 × 512 thermal, two-axis | 260 g | Compact dual-sensor platforms |
| HQ-115D | 1920 × 1080 with 30x zoom plus 640 × 512 thermal, three-axis | 1 kg | Long-range zoom with a thermal channel |
| HQ-125S | 1280 × 1024 thermal, 50 mm, three-axis | 1 kg | Thermal-first missions |
Those are manufacturer-published numbers, not independent laboratory measurements, and the examples are there to show the shape of the range rather than to recommend a model. Current datasheets, mounting drawings and power figures for the exact unit you’re buying are what you plan against.
Centre of gravity, mounting and clearance
Where the payload sits changes the aircraft. A belly mount is usually easier to bracket and gives a clean downward field of view. A nose mount buys you a forward arc and costs you structure, cable routing and often a custom bracket.
Two things get missed more often than they should. The first is the centre of gravity of the head itself relative to its mounting face. Ask for it, it’s one number and it saves an afternoon of arithmetic. The second is clearance across the full range of movement, not just at the neutral position. A head that fits perfectly until it tilts down 90 degrees isn’t a head that fits.
The power budget is shared
Ask for three figures rather than one: the input voltage range, the steady-state current, and the peak draw during startup or fast slewing. A payload that settles at 15 W can pull close to double that while the motors spin up. A power module sized on the steady-state number will drop out at the worst possible moment.
Then check it against the rail, not against the datasheet. What else is on that rail, what the regulator does when the load steps, and what happens when the battery sags at the end of a flight. On the HITS HQ-64DB, for example, the published figures are 240 g with 11-28 VDC input and 10 W / 20 W draw [6]. Useful, and still something you verify on your own bench.
Zoom, resolution and field of view
These three get treated as one number and they aren’t. Resolution is how many pixels the sensor has. Focal length and field of view decide how much of the scene lands on those pixels. Zoom is the ratio between the two ends of the lens.
The practical test is a target-size calculation, not a specification comparison. Work out roughly how many pixels your target occupies at your working distance, and decide whether that’s enough to answer the question the mission is asking. FLIR’s distance-to-size material explains the same arithmetic from the thermal side [3].
If the answer is “about 4 pixels”, the mission needs a longer lens or a closer orbit, and no amount of extra megapixels will fix it.
Two axes or three
A two-axis head controls pitch and yaw. On a light multirotor with a wide lens in calm air, that’s enough, and it’s lighter and cheaper.
A third axis adds roll isolation. It starts to matter when the lens gets long, when the aircraft banks hard in a turn, or when the platform is a fixed-wing or helicopter that moves around more than a multirotor does. Once you’re past roughly 20x zoom, roll is the axis that ruins the image.
Worth saying plainly: the number of axes on a datasheet doesn’t tell you how well the head performs. Stabilisation figures, and the conditions they were measured under, are what you compare.
Environmental limits
Outdoor equipment meets dust, moisture, temperature swings and vibration. Ask for the operating temperature range, the sealing or ingress rating where one exists, and any vibration or reliability testing the manufacturer has actually done.
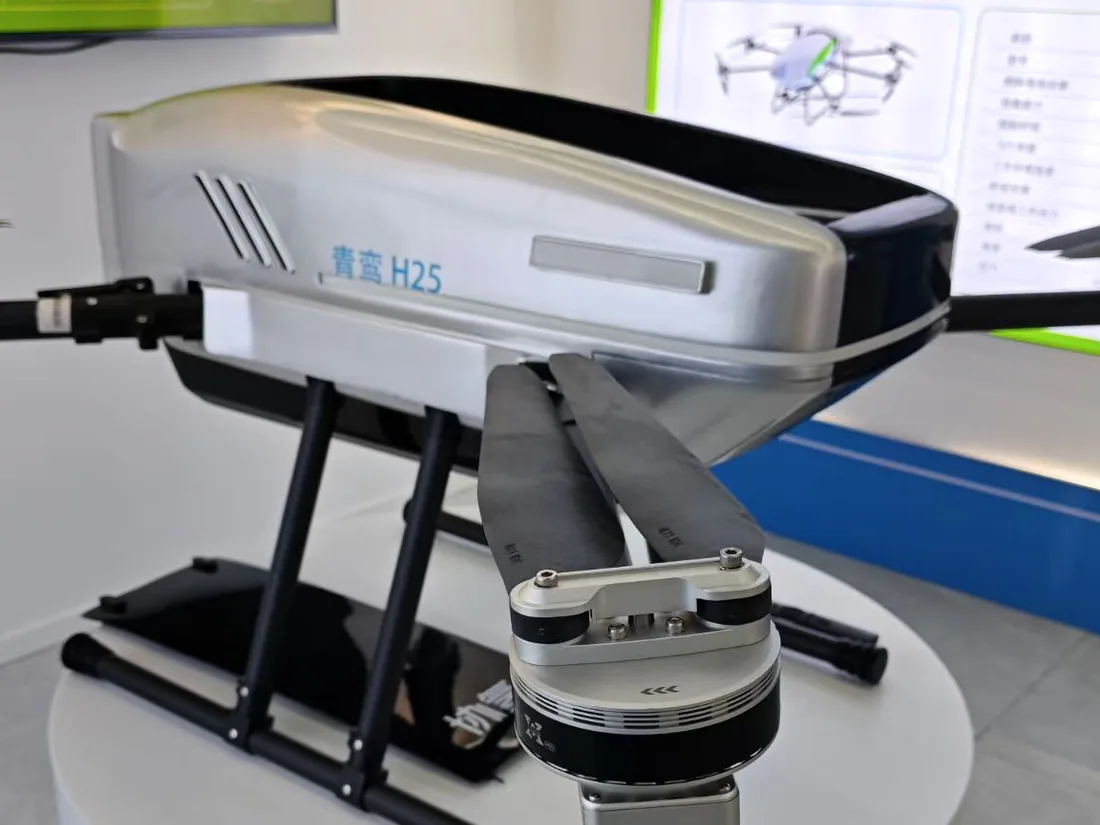
Be wary of photographs used as evidence. A picture of a payload on a snowy hillside isn’t a temperature qualification. What you want is a statement, in the documentation, for the model you’re buying.
Will it fit your aircraft?
A payload is only a good choice if it works on the airframe you already have. That’s three questions in practice: does it bolt on, does it understand your flight controller, and can your ground station see the video.
Mounting and mechanical compatibility
Ask the manufacturer for a drawing that shows the mounting pattern, the attachment points, the overall envelope, and the space the head needs to move through. Not a family brochure. The drawing for the variant you’re buying.
At the same time, decide how you’re going to deal with vibration. Isolation is a design decision, not an accessory. A mount that’s too stiff passes everything through to the camera. One that’s too soft lets the head move relative to the airframe, which shows up as a slow oscillation that’s harder to tune out than ordinary buzz.
Control interfaces, and the MAVLink question
Payload control usually runs over a serial link, for example RS-422, RS-232 or a TTL-level UART, with Ethernet on the payloads that also stream video. Some systems use PWM for the gimbal and a serial link for the camera. All of those are physical answers, and physical answers are only half of it.
Here’s the sentence worth remembering: a camera that advertises MAVLink compatibility doesn’t necessarily support every gimbal or imaging command. MAVLink’s gimbal protocol defines a manager role and a device role, and knowing which one the payload implements is the single most useful question you can ask [2]. PX4 documents several ways of wiring gimbal control up, including MAVLink and PWM options, and which one you use changes what’s possible [5].
So ask for the supported message list, with the protocol revision and the firmware build it applies to. If a supplier can’t produce that, it isn’t a reason to walk away, but it’s a reason to test carefully before you commit.
On our own range, the interface set, the supported commands and the firmware revision are confirmed per model. The models we confirm use RS-422, RS-232 or TTL on the control side with SBUS and MAVLink on the aircraft side, and Ethernet video. Get that in writing for the specific unit you’re buying rather than taking it from a blog post.
Video down to the ground station
Video compatibility is a separate conversation from control compatibility, and it fails separately too. Ask for the stream definition: the protocol (RTSP, or UDP H.264 or H.265), the codec and profile, the resolution and frame rate options, the bitrate range, the latency, and the IP addressing behaviour.
Then check the other end. Your ground station has to be able to ingest that stream and, ideally, record it. QGroundControl, for example, supports several video sources depending on configuration, and the payload output has to match one of them.
Test it over the data link you’ll actually fly with, not over a bench cable. Latency on a one-metre Ethernet lead tells you almost nothing about what the operator will see at 5 km.
SDKs and custom integration
Most projects never touch an SDK. The ones that do usually need it for something specific: a custom operator interface, an autonomy routine that points the camera without a human, or a workflow where image capture is triggered by a flight event.
If you need one, ask what documentation exists, whether it’s stable or still moving, and whether there’s sample code that runs against a real unit. And be a little suspicious of a very rich SDK on a payload that claims full standard-protocol support. Sometimes it means the standards route was never finished properly.
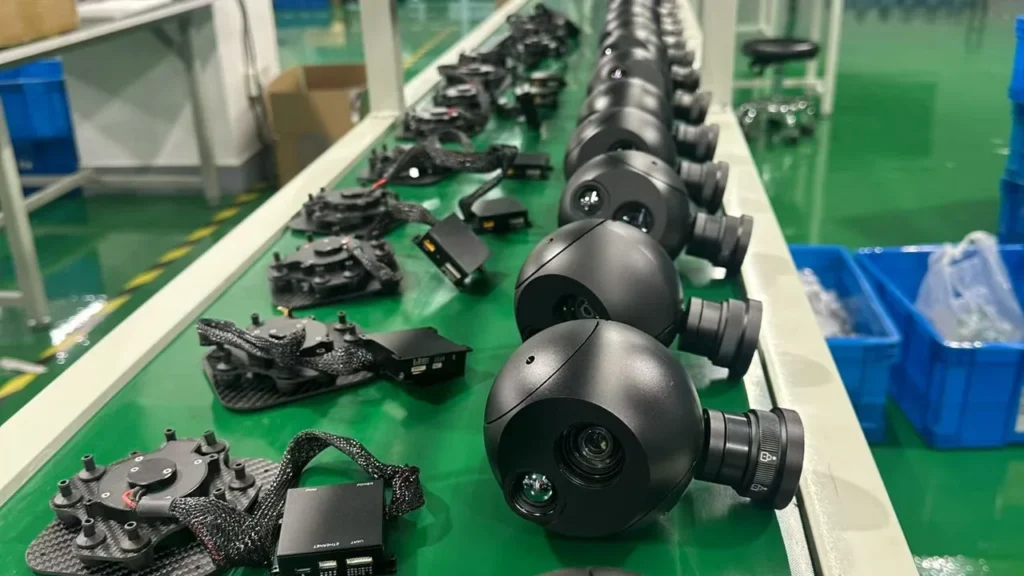
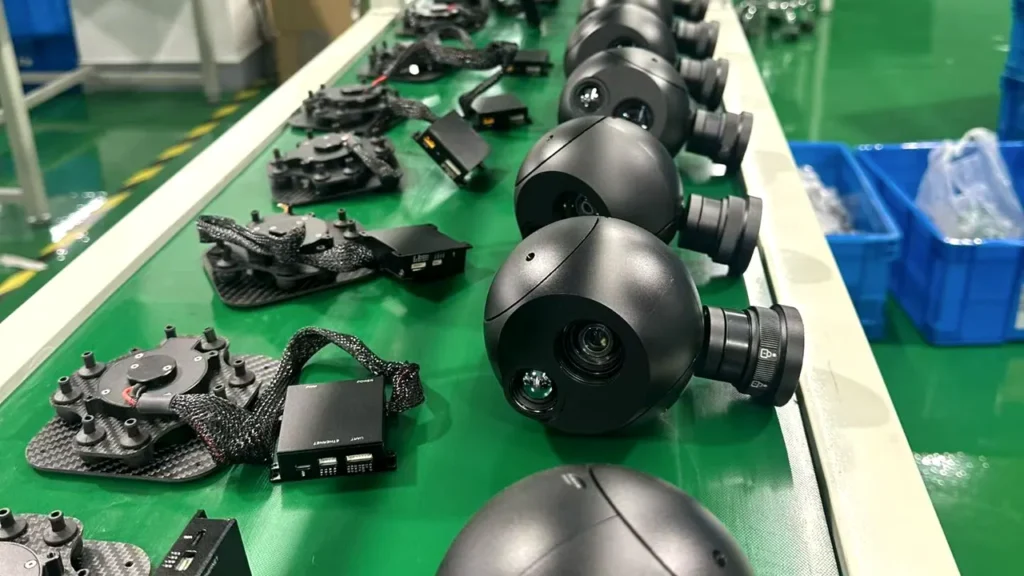
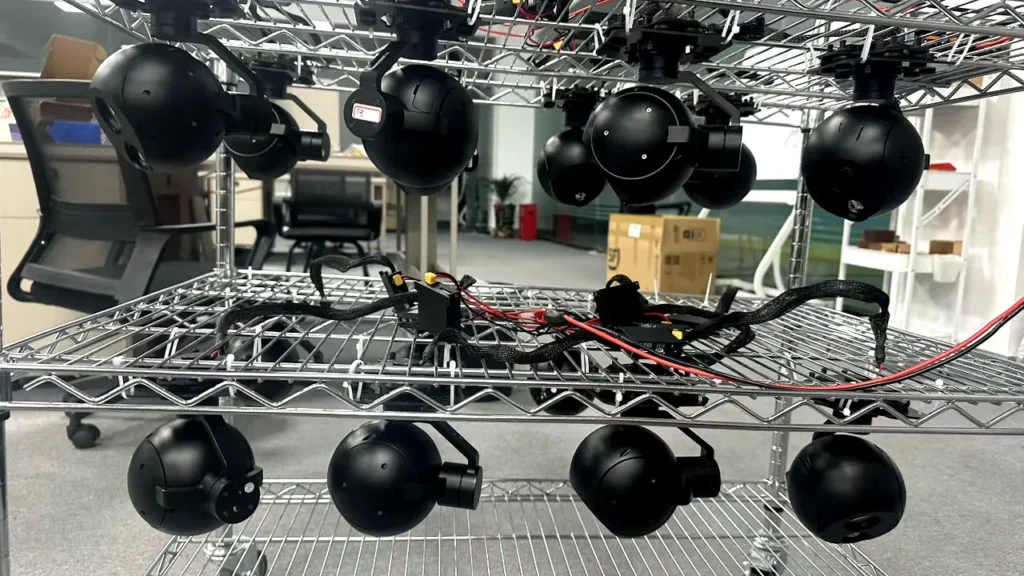
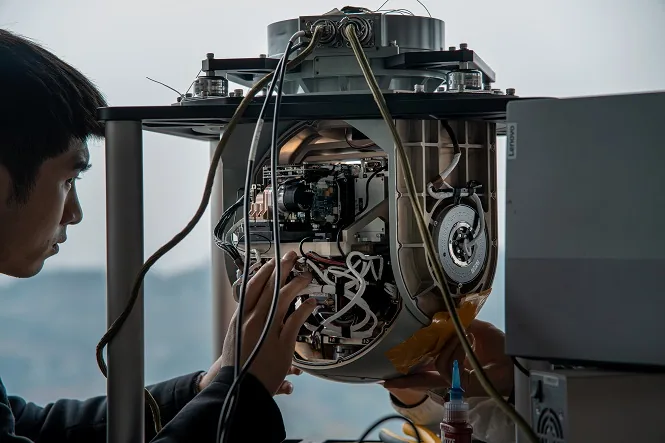
Gimbal and imaging payload testing on an industrial VTOL project. Source: HITS.
Choosing a supplier, not just a product
Two suppliers can quote the same specification and deliver completely different projects. The difference is almost always in the paperwork and the people, and both are cheap to check before you pay.
Documentation you should be able to get
A serious manufacturer can send you a current datasheet with real numbers, a mechanical drawing with the mounting pattern and connector positions, the electrical specification including startup behaviour, the control protocol with a version attached, and the video stream definition. If those documents don’t exist before the sale, they won’t appear afterwards.
Ask about test and calibration records as well. A unit-level record tells you more about production discipline than any brochure.
Evaluate on a sample, not on a promise
Ask for an evaluation unit and put it on your own aircraft. Mount it, power it from your own rail, wire it to your own flight controller, and look at the video on your own ground station. A week of that answers more questions than a month of email.
Before you start, write down what “good enough” means. “It works” isn’t a criterion. Something like “the operator can hold a person-sized target in the centre third of the frame while the aircraft orbits at 300 m, and the recording is continuous for the full sortie” is.
OEM and ODM capability
Customisation is common in this market, but the word covers everything from a different bracket to new firmware. Ask which layer your requirement sits in, and which of those layers the manufacturer engineers itself.
Be specific and early. A connector change touches the harness. A protocol change touches firmware and the release schedule. Both are possible, and both cost time that nobody wants to discover in the last month.
Warranty, lead time and spares
Compare sample availability, production lead time, warranty scope, spare parts and technical support in the same table as the price. Then ask the question that actually matters: what happens on day one of a failure? How long is the aircraft grounded, and who pays for it?
A slightly more expensive payload with clear documentation and a real support route usually wins over the life of a fleet. That isn’t a sales line, it’s just how the arithmetic works out.
The selection checklist
Before you ask anyone for a quotation, write a page of requirements. It takes an hour and it saves weeks, because it turns a vague enquiry into a specification the supplier can answer properly.
Mission and imaging requirements
- Primary application and what’s actually being inspected.
- Working distance, and the light conditions you expect.
- Daylight, thermal, or both.
- Required resolution, focal length and zoom range.
- Whether you need radiometric temperature data, onboard detection, a laser rangefinder, or none of the three.
Aircraft and integration specifications
- Aircraft type and model, and roughly how it flies.
- Available payload capacity, including the bracket and cable.
- Mounting location and the clearance available there.
- Supply voltage and the current you can spare on that rail.
- Flight controller, firmware version and ground control station.
- Control interfaces and video output you can support.
- Environmental and operating conditions.
Supplier evaluation and RFQ information
- Quantity for the first order and for the year.
- Whether you want a sample, and what you’ll test it against.
- Any customisation, and which layer it sits in.
- Which technical documents you need before purchase.
- Delivery schedule and destination country.
- Warranty, spares and after-sales expectations.
Send that and you’ll get a useful answer rather than a catalogue. It also makes quotations comparable, which is the part that usually goes wrong when three suppliers reply with three different formats.
Frequently asked questions
What’s the best gimbal camera for an industrial drone?
There’s no single best camera, and any supplier who says otherwise is answering a different question. The right payload depends on what the aircraft has to observe, at what distance, in what light, how much it can lift, and how much power it can spare. Start with those, and the shortlist usually falls out in a page or two.
How much payload weight can my UAV support?
That depends on your aircraft’s validated payload capability in the configuration you actually fly, which is a number only your own flight testing can confirm. The head on the datasheet is the starting point; add the bracket, the connector, the cable and the strain relief. Then check the centre of gravity and re-check the endurance, because payload weight comes out of flight time.
Can one gimbal camera work on several different UAV platforms?
Sometimes, but it’s a per-platform question rather than a property of the camera. The payload has to be mechanically, electrically and logically compatible with each aircraft, and each one may need its own bracket, its own power arrangement and its own control configuration. A payload that drops straight onto one airframe can be a small project on the next.
How do I choose between EO, IR and EO/IR?
EO if you work in daylight and need visible detail or colour. Thermal if the thing you’re looking for shows up as a temperature difference, or if you fly at night. EO/IR when the same mission needs both and the aircraft can carry the extra weight, power and cost. If you’re unsure, the deciding question is whether a thermal channel would change a decision you actually make, not whether it sounds useful.
Conclusion: match the payload to the mission
Choosing an industrial UAV gimbal camera is a fit problem with a short list of variables: what the sensor has to see, how far away, in what light, and what the aircraft can carry and power while it does it.
Get those into a page of requirements and the rest is comparison. Sensor configuration, stabilisation, resolution, weight, power and interfaces all have to be settled together. The payload with the longest specification sheet is rarely the one that ends up being the right buy.
One habit worth keeping: when somebody tells you a payload is “compatible”, ask which sense they mean: mechanically, electrically, on the control protocol, or on video. Those are four separate questions with four separate answers, and the buyer who asks them separately is the one who avoids the expensive surprise.
Technical note: product capabilities, firmware support, electrical specifications and integration functions must be confirmed against current model-specific documentation before purchase. Published figures, including the examples in this article, are manufacturer-published information rather than independent laboratory verification.
References and technical sources
The following sources support the imaging, protocol and flight-controller statements in this article.
- [1] ArduPilot – Cameras and gimbals. Gimbal configuration, camera mounting and vibration-related imaging problems.
- [2] MAVLink – Gimbal Protocol v2. The gimbal manager and gimbal device architecture, control and status reporting.
- [3] Teledyne FLIR – Understanding distance-to-size ratio. Target size, working distance, field of view and the pixels-on-target arithmetic.
- [4] Teledyne FLIR – Radiometric thermal technology. What radiometric measurement is, and where its limits are.
- [5] PX4 – Gimbal configuration. Gimbal input and output methods, including MAVLink and PWM.
- [6] HITS – Gimbal cameras. Manufacturer-published EO, thermal and EO/IR configurations, weights and interface specifications.
Working out which payload fits your aircraft?
Send us the airframe, the mission, the distance you have to see at, and the power you can spare. We’ll tell you which configurations fit, which ones don’t, and what has to be confirmed before you commit.
Related reading: the stabilised gimbal camera range and the two-axis and three-axis series, the thermal, EO and EO/IR payload pages, and the technology overview. Once you’ve chosen, the integration guide covers mounting, power, MAVLink and video testing, and how to choose a manufacturer covers the commercial side. Build and inspection details are on the factory and quality control pages. Then the gimbal camera procurement checklist carries the same decisions through the RFQ, the supplier comparison and the purchase order.